A new year always brings new plans — and here in the paint department, we can already see what’s topping the list for 2026.
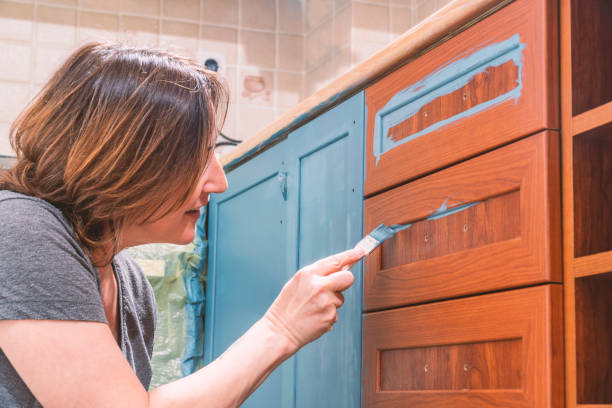
Kitchen cabinets.
For the past few years, updating kitchen cabinets has been one of the most popular home projects. The heavy varnished timber that once looked rich and warm but has slowly turned that unmistakable “foxy” orange tone over time.
The good news? A painted finish can completely transform the space. It’s one of the most cost-effective ways to give your kitchen a fresh, contemporary feel — without the expense of a full renovation.
So where do you start?
Step 1: Clean Like You’ve Never Cleaned Before
Before a drop of paint goes near those cabinets, cleaning is your most important job.
Your kitchen cupboards have lived in the heart of the home — surrounded by steam, grease, cooking residue, and condensation. Ordinary supermarket cleaners simply won’t cut it.
Reach for a proper degreaser such as:
-
- Sugar Soap (the good old-fashioned classic)
-
- Original Krud Kutter
These products are designed to break down years of built-up grime.
And here’s the truth: if you skip or rush this step, the whole project can fail. Paint won’t stick properly to grease. So, make cleaning Day One — and give it the time it deserves.
Step 2: Prime for Success
Primer is non-negotiable when painting kitchen cabinets.
Shellac-based primers are a firm favourite for a reason. They block stains, prevent bleed-through, and give excellent adhesion. Popular options include:
- Zinsser BIN (shellac-based)
- Zinsser Cover Stain (oil-based)
- Fleetwood Terminator
- Bloxx-It
- Colourtrend Prime range
- Ray’s Shellac (produced in Cork by a family of furniture restorers — just as good as the big brands!)
A Pro Tip on Primers
Most primers go on white. So, before you start priming, make your final colour decision.
Why? Because your primer can be tinted toward your chosen topcoat colour. This small step makes coverage easier and can reduce the number of finish coats needed. It’s a game changer.
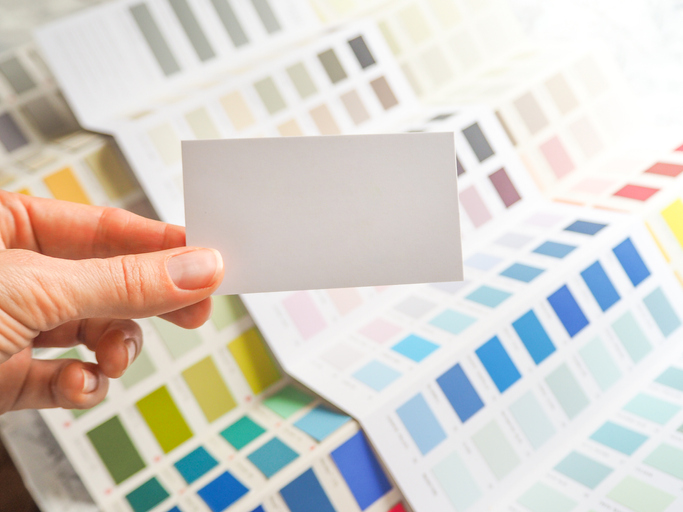
Step 3: Choose Your Wow Colour
Now for the fun part.
There is a growing trend toward painting kitchen islands a different colour from the main cabinetry — creating contrast and a focal point in the room.
Look everywhere for inspiration:
- Online galleries
- Magazines
- Showrooms
- Even AI-generated design tools are starting to offer fresh ideas.
When it comes to finish, water-based eggshells and satins are taking over from traditional oil-based paints. They’re easier to work with, dry quickly, and have much lower odour — perfect for busy homes.
Step 4: Don’t Forget the Tools
The right tools make all the difference to your finish.
Here’s what you’ll need:
- A quality paint brush (ask for advice — not all brushes are equal!)
- A 4” roller and tray
- The correct roller sleeve for your chosen finish (some give a far smoother result than others)
- Surface protection (modern masking films can replace the old newspaper method)
- Cleaning solvent — methylated spirits or white spirits depending on your primer choice.
The Bottom Line
Painting your kitchen cabinets is one of the most transformative DIY projects you can take on. With the right preparation, the right products, and a little patience, you can turn a dated, varnished kitchen into a bright, modern space that feels brand new.
If you need advice, guidance, or help choosing colours and products, pop in store and talk to our team of experts!
Here’s to fresh starts and freshly painted kitchens!
The Paint Department at Bandon Co-Op
Check out the video below showing you how we can help you find the right colour for your kitchen.