

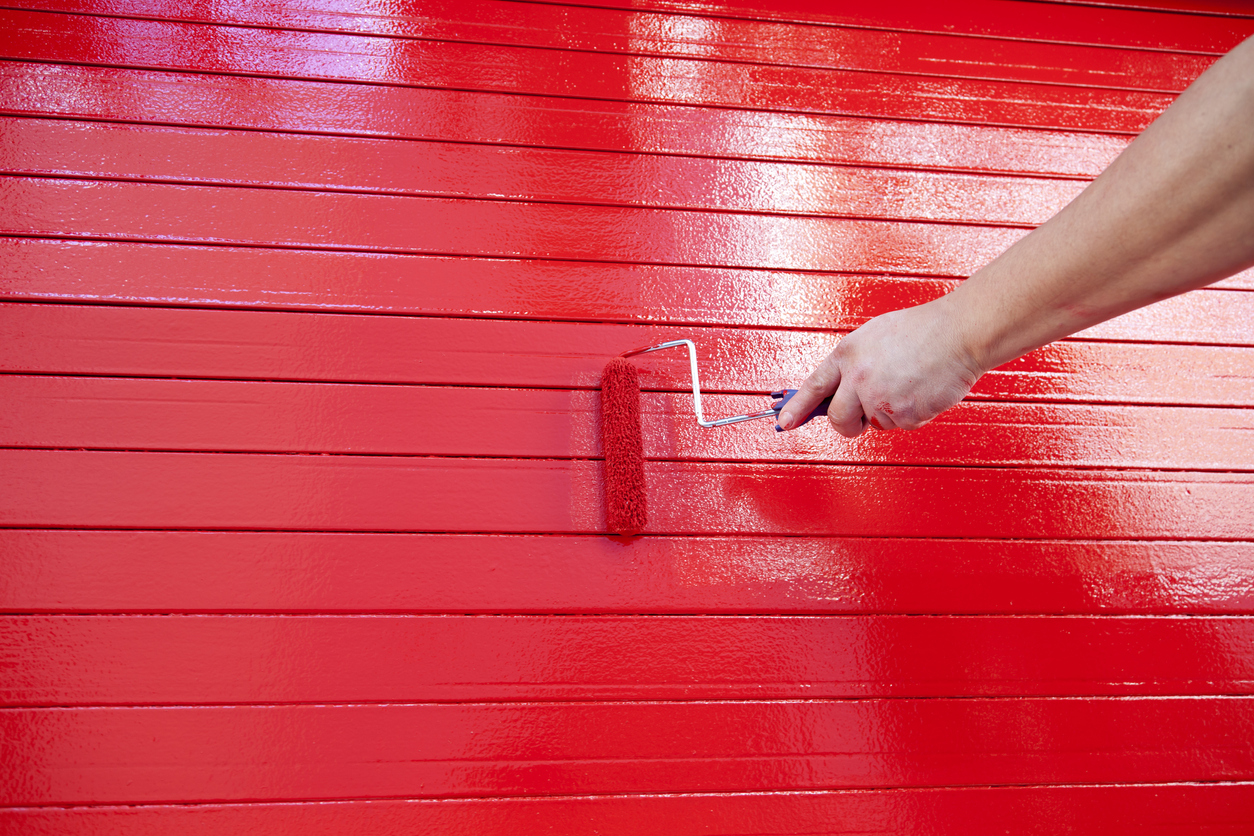
Get Summer-Ready: A Guide to Painting Your Outdoor Spaces
As summer approaches and we begin to spend more time outside, now is the perfect

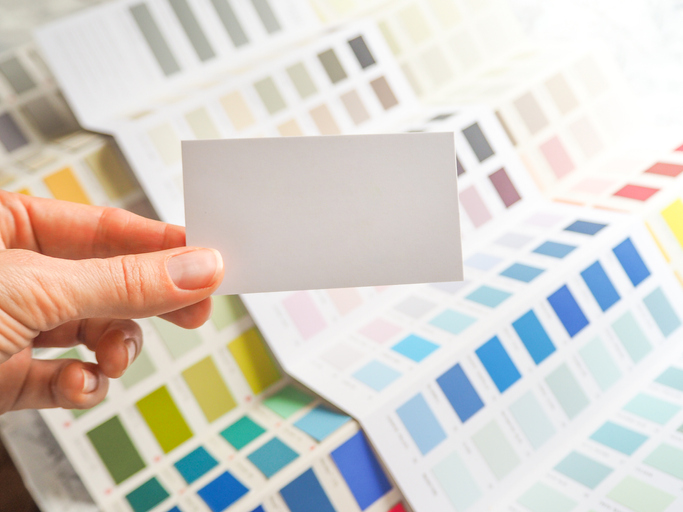
Timeless Elegance: Stylish Palette for Home Transformation
Our complete guide to bulb planting in Ireland will give you everything you need for a beautiful display of flowers
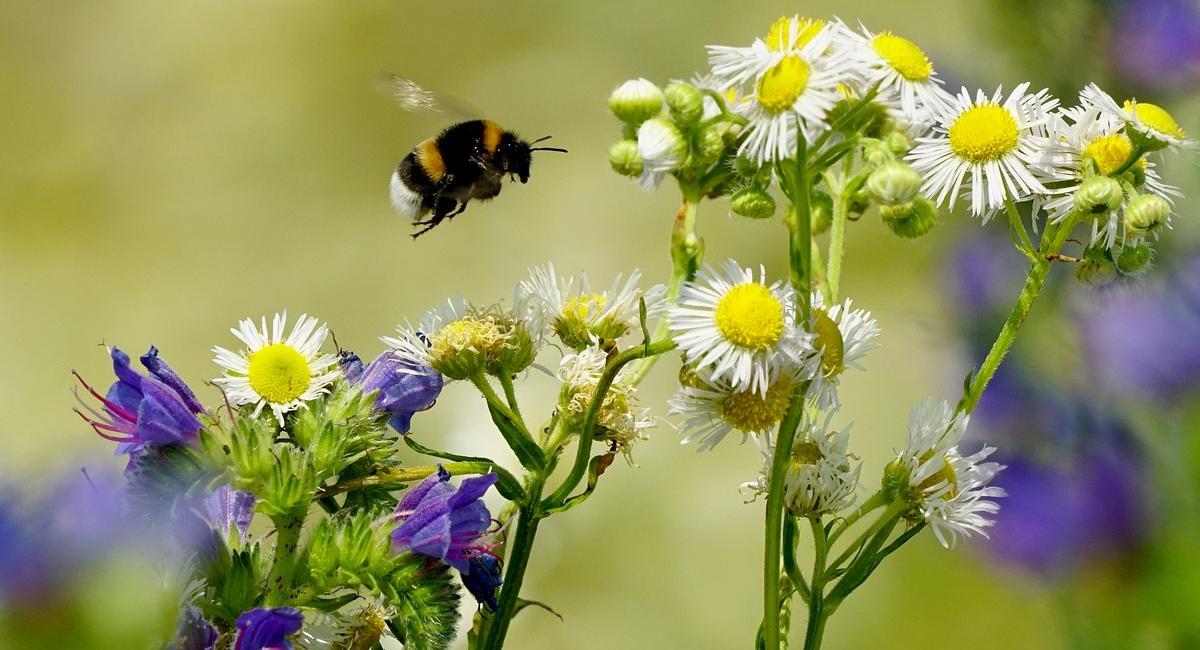
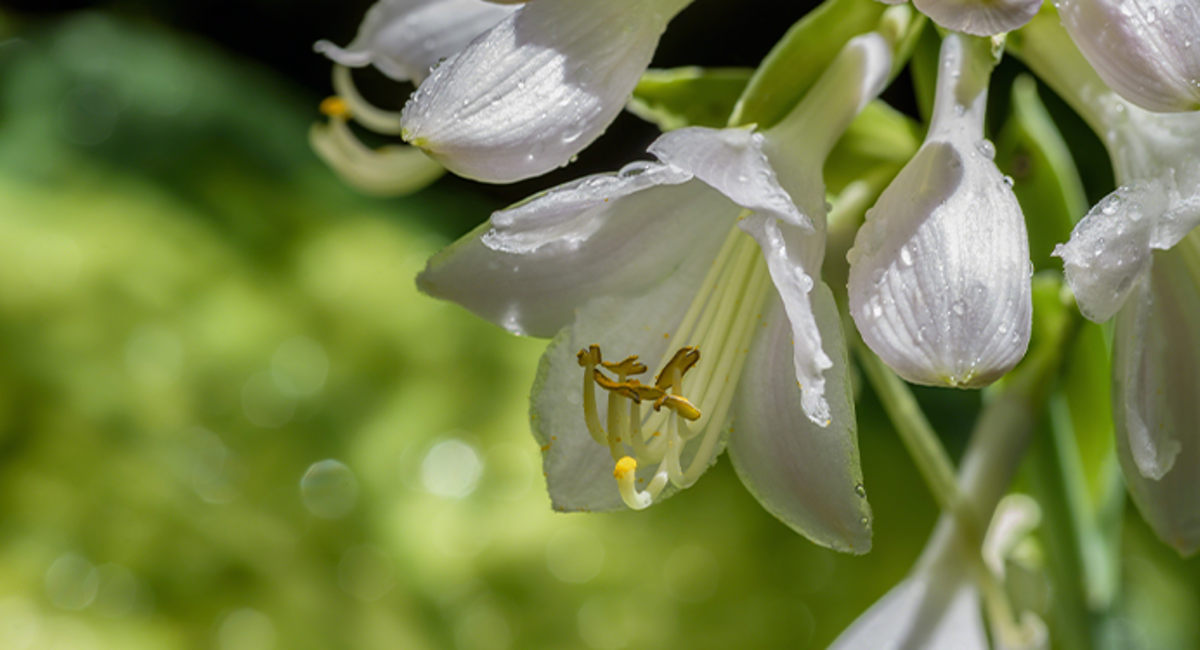
Native Plants for Spring Gardens Enhancing Biodiversity in Your Yard
Our complete guide to bulb planting in Ireland will give you everything you need for a beautiful display of flowers
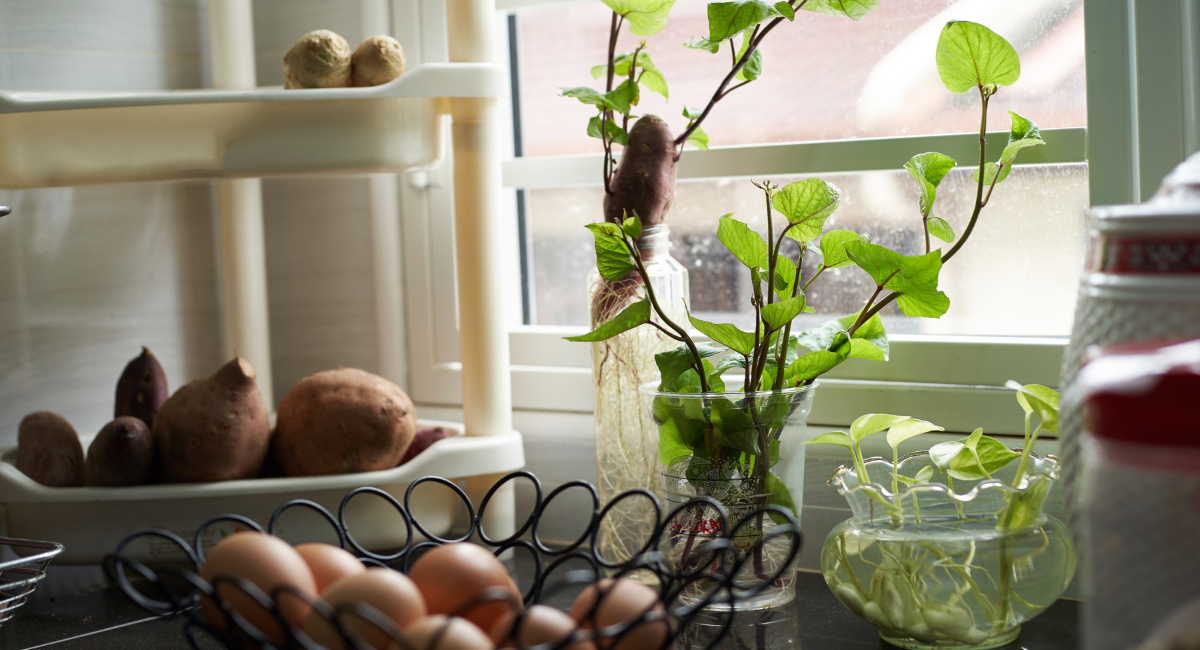
List of native decorative plants and crops to plant in the kitchen and garden in May
Our complete guide to bulb planting in Ireland will give you everything you need for a beautiful display of flowers
Irish Rainy Summer Garden Care Guide
Our complete guide to bulb planting in Ireland will give you everything you need for a beautiful display of flowers
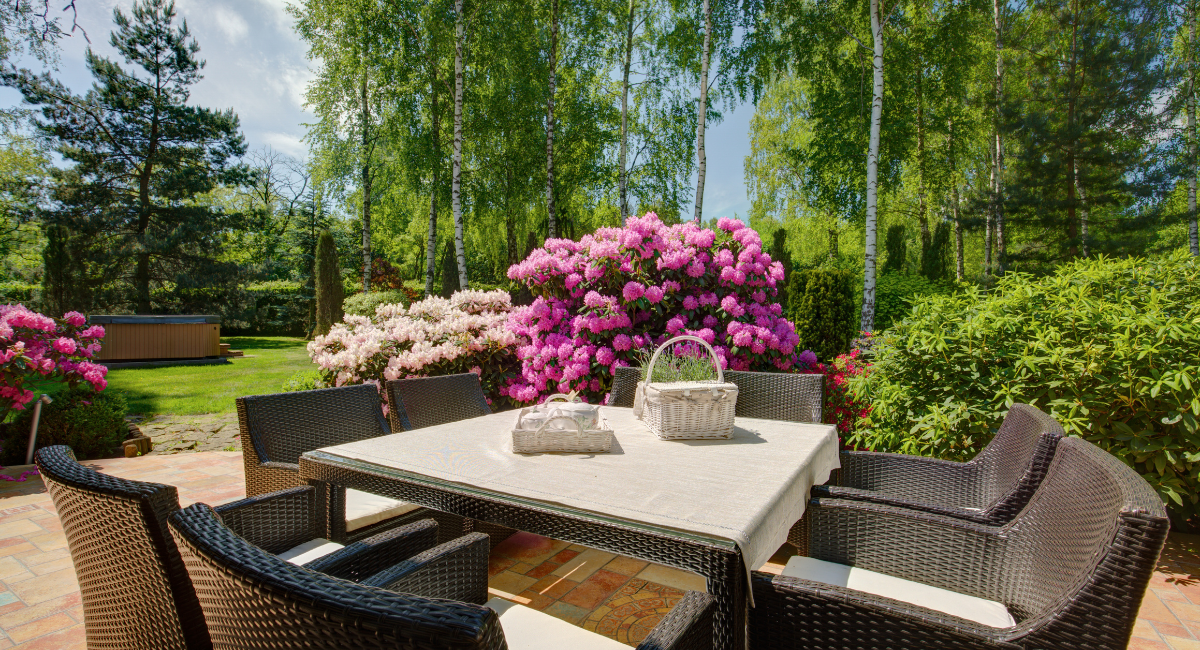
How to Pick Durable Outdoor Furniture for Ireland’s Climate
Our complete guide to bulb planting in Ireland will give you everything you need for a beautiful display of flowers

Get Summer-Ready: A Guide to Painting Your Outdoor Spaces
14th June 2025
As summer approaches and we begin to spend more time outside, now is the perfect time to refresh
Timeless Elegance: Stylish Palette for Home Transformation
28th March 2025
Our complete guide to bulb planting in Ireland will give you everything you need for a beautiful display
Native Plants for Spring Gardens Enhancing Biodiversity in Your Yard
28th March 2025
Our complete guide to bulb planting in Ireland will give you everything you need for a beautiful display
List of native decorative plants and crops to plant in the kitchen and garden in May
28th March 2025
Our complete guide to bulb planting in Ireland will give you everything you need for a beautiful display
Irish Rainy Summer Garden Care Guide
28th March 2025
Our complete guide to bulb planting in Ireland will give you everything you need for a beautiful display
How to Pick Durable Outdoor Furniture for Ireland’s Climate
28th March 2025
Our complete guide to bulb planting in Ireland will give you everything you need for a beautiful display